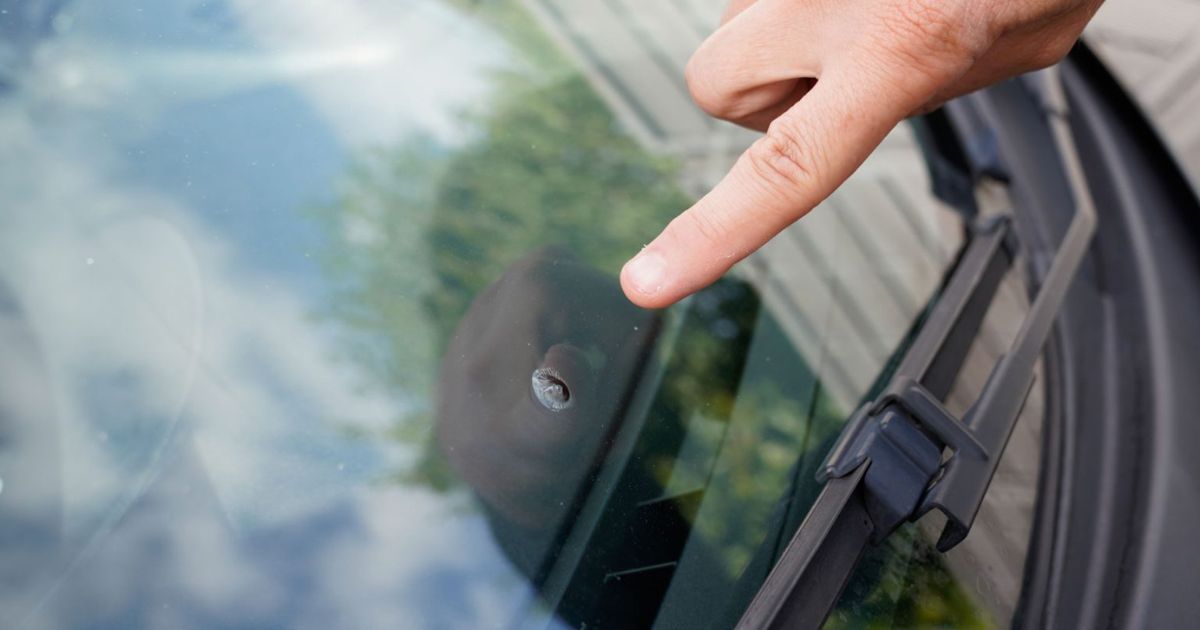
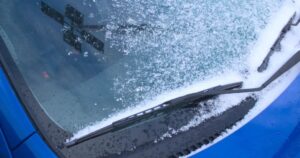
Stone chips appear as small pits or divots when debris strikes your windshield at speed, creating localized damage that can quickly spread into larger cracks.
Early intervention is crucial. Chips smaller than a credit card can often be repaired with epoxy resin, while larger damage requires professional assessment to determine if repair or windshield replacement is necessary, preventing costly issues down the road.
What Causes Stone Chips on Auto Glass
Stone chips occur when gravel, grit, or loose stones hit your windshield at high speed, creating deep indentations in the glass. Motorway driving significantly increases risk as vehicles traveling ahead fling road debris backwards toward your bonnet and bumper.
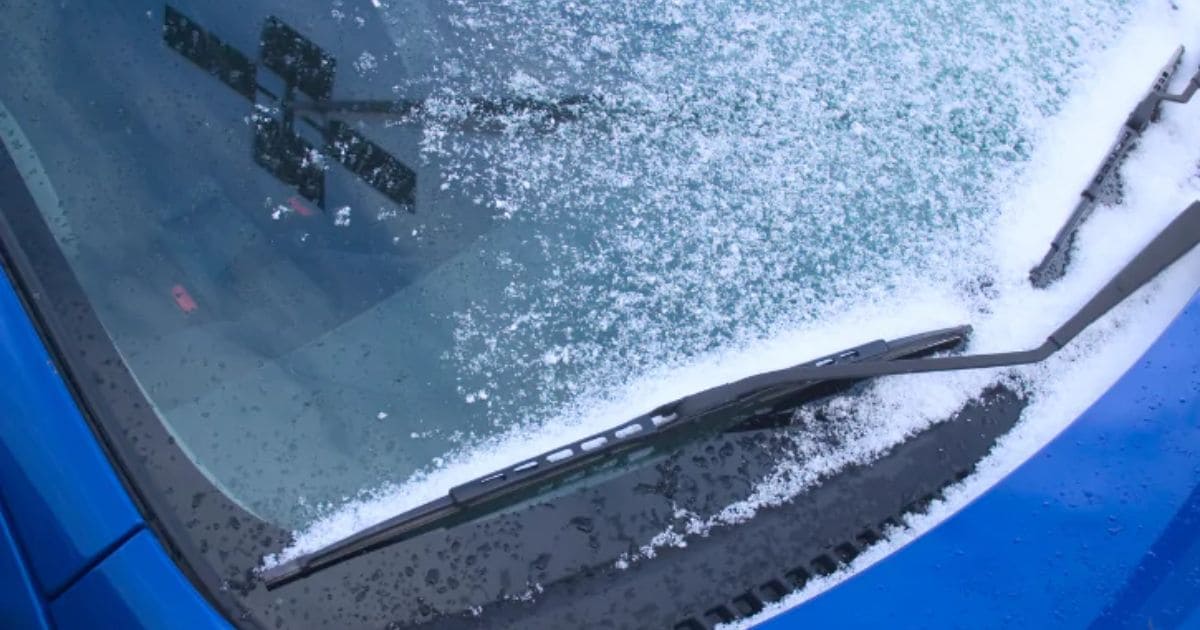
Winter road conditions worsen the problem. Salt-spreaders and grit spreading leave more debris on roads.
Adverse weather like rain and ice allows water penetration into damaged areas, accelerating deterioration and potentially exposing the metal underneath.
What Is a Chip? What Is a Crack?
A chip is a small area where stone strike creates localized spot damage, appearing as tiny pits or divots with possible radiating cracks extending outward.
In contrast, a crack is a distinct line that stretches across the windshield and grows over time.
Visual differences matter significantly for repair determination:
- Chips remain confined to a small area
- Crack extension can compromise the outer layer glass and structural integrity
Early detection is critical for proper damage assessment.
Common Types of Chips and Cracks
Bullseye Damage
Features a circular impact area with cone formation in the outer layer, while star break patterns show short radiating cracks extending from the impact point center. Combination breaks mix both characteristics.
Edge Cracks
Start within 2-inch edge proximity and extend horizontally, weakening the windshield’s seal.
Floater Cracks
Occur in the center area, away from edges.
Stress Cracks
Develop without impact. Sudden temperature changes cause these. According to NHTSA guidelines, each damage type has different repair considerations affecting structural integrity and safety performance.
How Windshield Chips Are Assessed
Professional assessment begins with technician evaluation of damage depth and size measurement.
Windshields have two-layer glass construction for impact resistance. If chips remain in first layer confinement with one-inch diameter limit, repair is typically possible. Deeper penetration reaching the second layer damage requires replacement.
Technicians perform layer-by-layer examination to check glass integrity and assess vision impairment risk. Damage severity rating determines whether repair feasibility exists or if driving safety concerns necessitate full windshield replacement by qualified technicians.
Why It’s Important to Repair Stone Chips Quickly
Base metal exposure from chips allows moisture infiltration and salt exposure, triggering rust development and corrosion formation that spreads if untreated.
Crack widening and paint peeling worsen without immediate action, turning small repairs into expensive panel respray costs.
Quick response benefits include:
- Aesthetic appeal maintenance and resale value protection
- Neat paintwork commands higher resale value
- Cost-effective repairs compared to large patch repairs or full windshield replacement
Early intervention prevents rapid deterioration through preventive maintenance.
DIY Stone Chip Repair: Step-By-Step Guide
Start with thorough area cleaning using soap and water, followed by alcohol cleaning or white spirit application for grease removal and dirt elimination.
Use fine sandpaper or cutting compound for edge smoothing, avoiding surrounding paint damage.
Apply thin primer layer with fine brush technique or paint pen method. Build colour coat gradually through multiple applications, keeping paint within the damaged area.
Level the surface with wet-sanding, then seal with lacquer coating for protection and gloss finish. DIY repair kits work best on small chips with proper materials and patience.
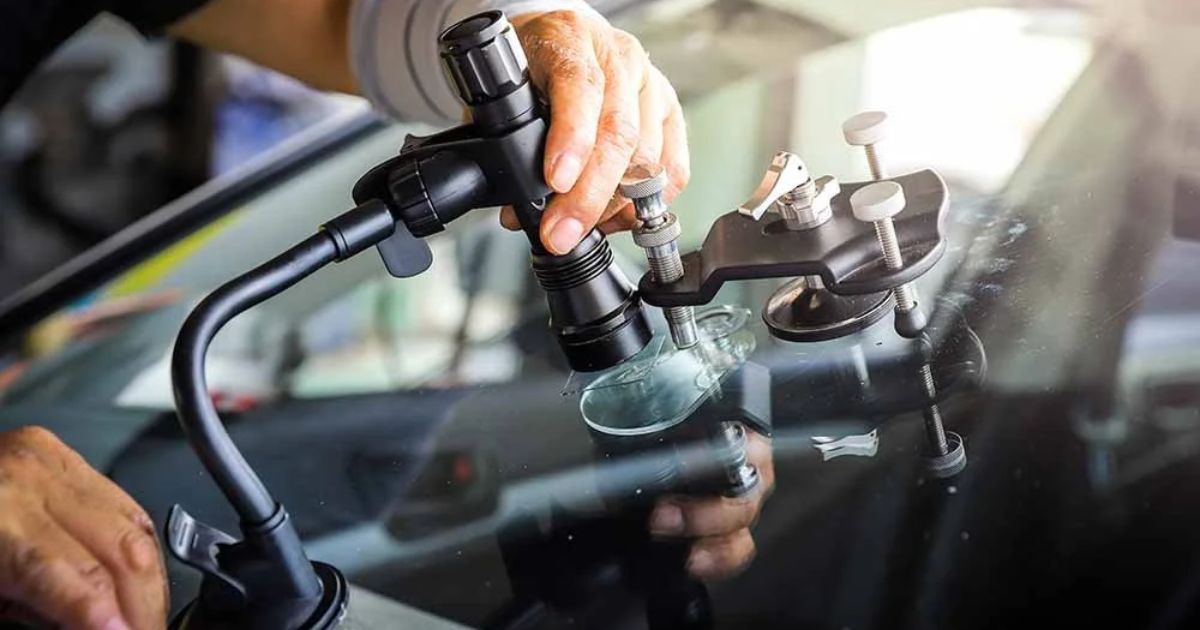
How to Repair a Windshield in 10 Steps
Begin with adhesive patch application after paper backing removal, centering the circular cutout over damage.
Attach the pedestal (a molded plastic piece with tube positioning capability). Mix and pour liquid resin, then insert syringe with plunger compression to create vacuum for air bubble removal.
Observe bubbles escaping through syringe reinsertion, then push plunger for resin forcing into the chip. Knock glass gently to release trapped air, adjusting compression carefully to protect adhesive seal.
After proper curing time adherence, add resin drops and apply curing strip at an angle. Use razor blade for strip removal.
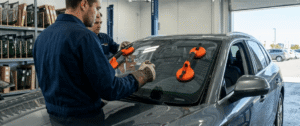
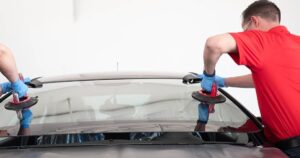
How Windshield Chips Are Repaired
The professional repair process starts with debris cleaning and thorough drying of the damaged area.
Technicians use specialized syringe injection to fill chips with automotive resin application, restoring structural integrity through resin curing and hardening process.
Polishing finish completes the work, typically within 30-minute repair time. While effective techniques achieve functional restoration and glass strength restoration, a small divot remainder stays visible (a slight blemish that doesn’t affect driving functionality).
This permanent fix application offers quality assurance with minimal disruption compared to full replacement.
What Results You Can Expect
Highly effective techniques deliver functionality restoration and chip stabilization with growth prevention guaranteed.
However, small divot visibility remains. Repair leaves a blemish since complete smoothness requires new windshield installation.
This visible repair mark doesn’t affect:
- Driving performance
- Structural soundness
- Weather resistance
- Long-term durability
Professional workmanship ensures repair permanence and performance maintenance despite the cosmetic trade-off. Most drivers find it a forgettable presence after initial awareness.
Realistic expectations recognize that quality results prioritize functional restoration over perfect appearance, making this an acceptable outcome.
When to Get Professional Stone Chip Repair
Seek professional attention when bare metal exposure occurs, multiple chip scenarios exist, or rust formation has started.
High-value vehicle considerations demand precision and flawless finish with colour-matched results. SMART repair technology enables affected area restoration without full panel respray, delivering cost reduction benefits and near-invisible finish.
Certified technicians with proper training use specialized equipment and advanced techniques for damage complexity assessment. Professional expertise ensures warranty coverage and handles insurance coordination.
Expert evaluation determines the critical repair vs replacement decision using quality materials.
How Big is Too Big?
Chips larger than quarter size and cracks exceeding three-inch crack length cannot be fixed with DIY kit limitations. They require professional service necessity.
The credit card comparison provides a practical size threshold: damage larger than a credit card crosses the repair boundary.
Most repair kits specify dollar coin measurement as their kit effectiveness limits. Beyond these dimension guidelines, repair impossibility means professional intervention becomes mandatory.
Size assessment and damage measurement determine repairability criteria. Threshold crossing requires glass service for proper evaluation and expert help for safe, lasting repairs.
When Replacement Becomes Necessary
Replacement recommendation applies when:
- Damage exceeds credit card length
- Multiple crack presence clusters in the same area
- Chips appear in the driver’s direct sight line causing vision obstruction
Edge crack threats compromise windshield seal and weaken frame bond, creating safety concern escalation.
Professional technician evaluation determines when structural compromise makes repair inadequacy apparent. Extensive damage from crack spreading or chip multiplication means repair failure risk outweighs repair attempts.
Full replacement necessity prioritizes safety over cost, delivering complete visibility restoration, new glass advantages, and warranty protection benefits through expert consultation.
Preventing Future Stone Chips
Paint Protection Film
Paint protection film (PPF application) offers the most long-lasting effectiveness, covering vulnerable areas like bonnet and bumper with transparent shielding (though £500+ investment is required).
Spray-On Sealants
Spray-on sealants like Supagard products provide affordable alternatives with protective coating for impact damage reduction.
Regular Waxing
Regular waxing (DIY application in the £20-£50 cost range) creates a temporary protection layer reducing paint vulnerability.
Defensive Driving Practices
Practice defensive driving:
- Maintain safe following distance
- Exercise gravel road caution
- Show winter gritter awareness
- Practice close following avoidance
These preventive measures and risk reduction strategies offer proactive protection.
What You Should Do Next
Conduct immediate inspection for damage size assessment and depth evaluation.
Practice hot water avoidance on the windshield and limit high defroster use (both cause expansion that worsens chips). Practice door slamming prevention for vibration minimization.
Don’t delay professional call timing. Damage spread prevention requires quick action. Schedule assessment with technicians for expert guidance on repair vs replacement.
Timely intervention stops deterioration. Prompt response saves money. Contact specialists for evaluation appointments and repair decision making.
Document damage for insurance notification and claim processing, then await repair authorization before proceeding with professional advice.