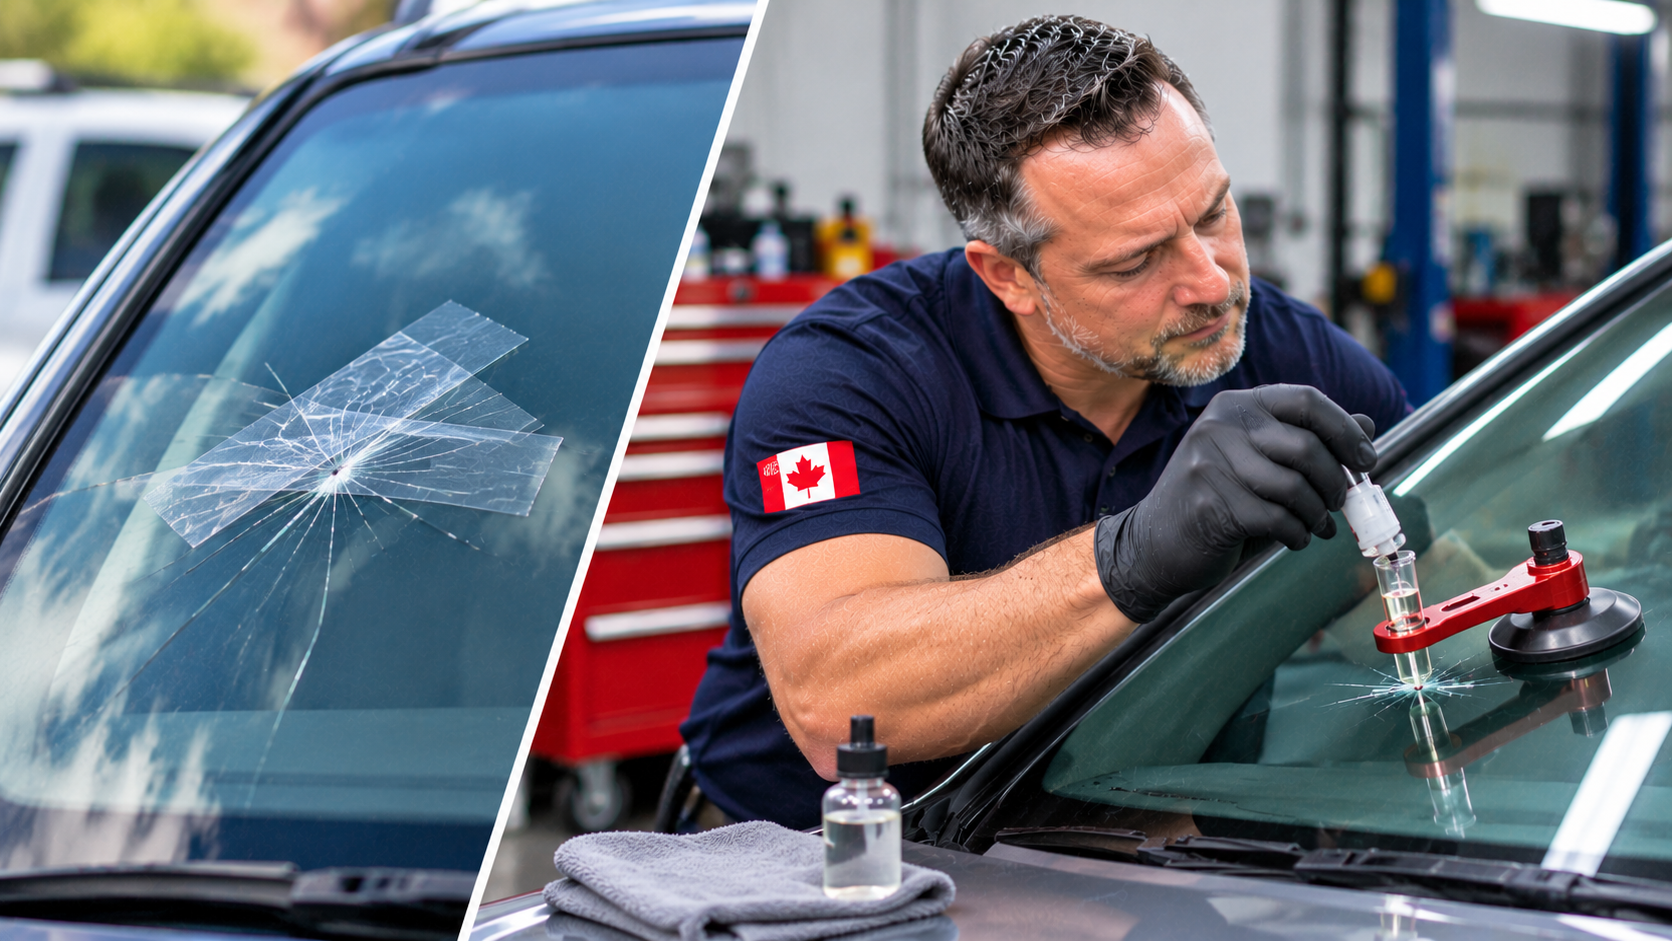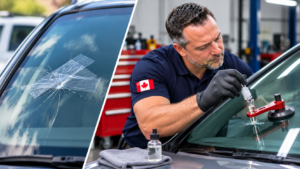
Picture this. It’s minus twelve in the GTA, you’ve just collected your car after a rear glass job, and you hit the defroster button like a hero. Ten minutes later, the bottom third of the back window is crystal clear, the top two-thirds look like a frosted pub mirror, and you’re muttering words your nan wouldn’t approve of.
Nothing looks broken. The new glass is spotless. So what happened?
Very often, a few of those razor-thin defroster lines got nicked, scraped or torn during glass removal. At Famous Auto Glass LTD., we see this story more often than you’d think, and it’s almost always avoidable. This guide breaks down exactly how rear windshield defroster lines get damaged during glass removal, how to catch the problem before you pay the invoice, and what separates a careful installer from a cowboy with a scraper.
If you’re comparing options for rear glass replacement, grab a cuppa. This one’s worth the read.
What Are Defroster Lines, Really?
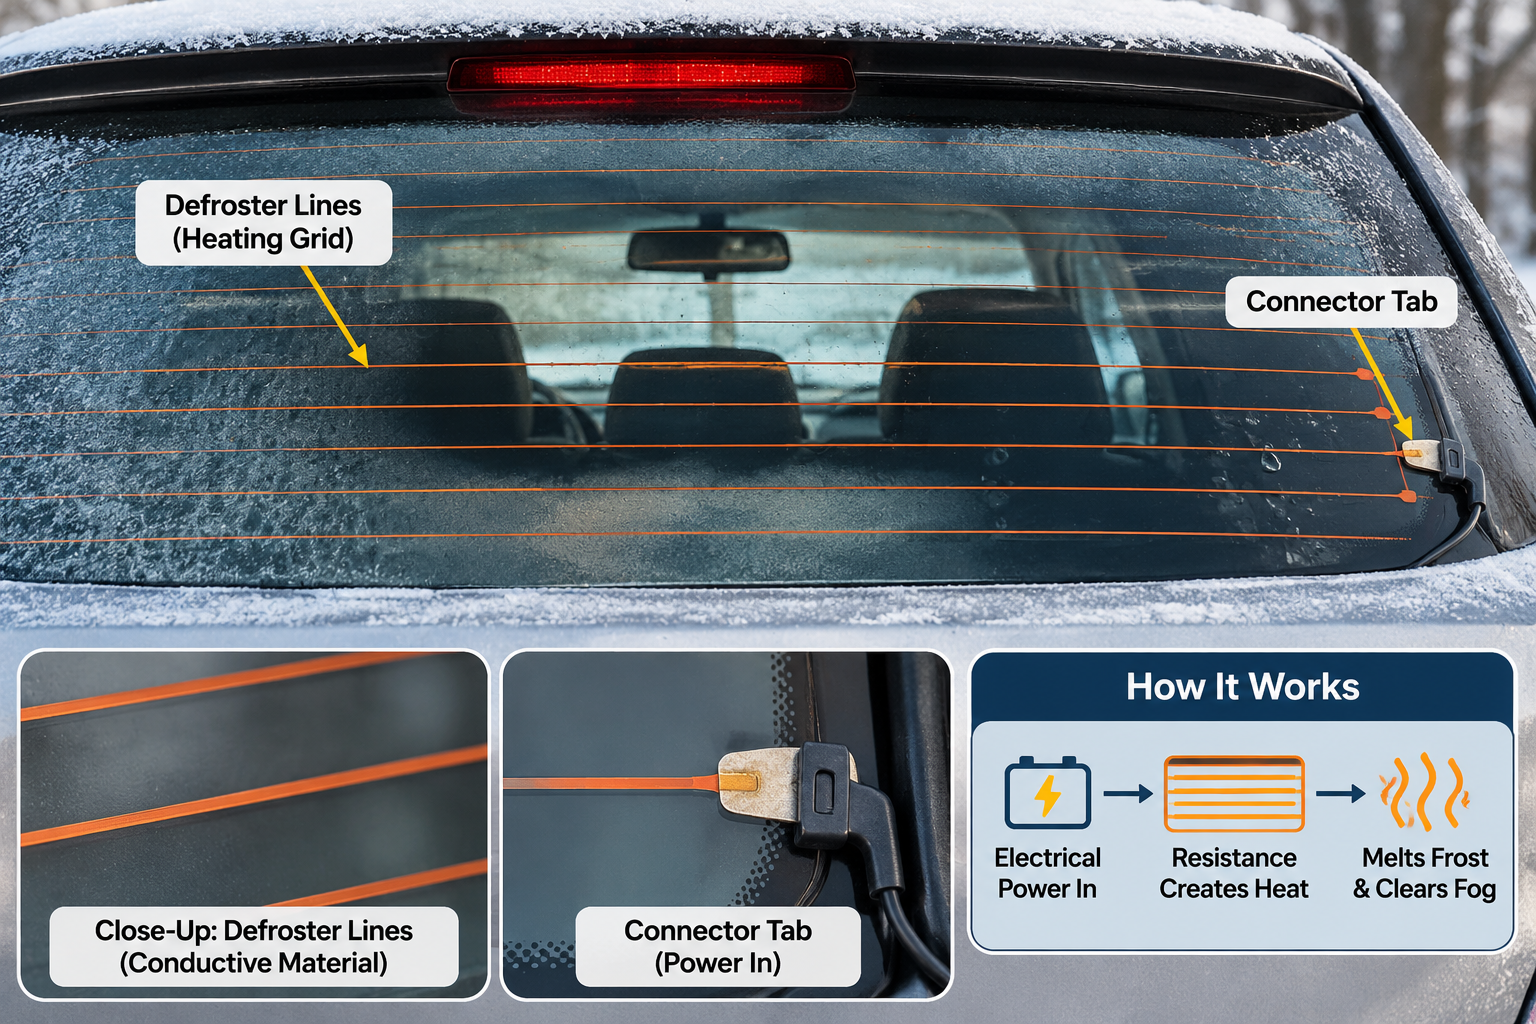
Those fine horizontal stripes across your back window aren’t decoration. They’re a heating grid, a pattern of conductive material (usually a silver-based paste) fired onto the inner surface of the glass. Power flows in through the connector tabs on each side, runs through the lines, and the resistance turns electricity into gentle heat. That heat melts frost and burns off fog so you can actually see the car behind you.
Two things make this system fragile:
- The lines are tiny. They sit right on the surface of the glass, not buried inside it. One bad scrape and you’ve effectively sliced a wire.
- It’s a parallel circuit. A break in one line usually kills that line only, but pile up a few breaks and the overall resistance climbs, so the whole grid heats weakly.
The connector tabs are another weak spot. They’re small metal pads bonded or soldered to the glass, and the wiring clips onto them. Yank the wire and you can pull the tab, and a chunk of the grid, right off with it.
Five Ways Defroster Lines Get Wrecked During Glass Removal
- The Razor Blade Special
Scrapers are the number one culprit. Whether it’s old adhesive residue, stubborn film or leftover gunk, someone grabs a blade and drags it across the glass. The blade doesn’t care that a conductive line is in the way. One careless pass can leave a hairline break you won’t spot until the first frosty morning.
A properly trained installer works with the angle, the lubricant and the direction of travel, and keeps blades well away from the grid. Rule of thumb: if a tech is scraping across the lines instead of along them, it’s time to politely stop the job and have a word.
- Yanking Connectors and Tabs
During removal, the wiring pigtails have to come off before the glass can move. Done right, the connector is released gently, with the right tool and the right angle. Done wrong, the tech tugs on the wire, the tab lifts, and the grid pulls away with it.
This is especially common on older vehicles where the connectors have been baking and freezing through a decade of Canadian seasons. Brittle plastic and aged solder don’t forgive impatience.
- Cutting the Urethane without Respecting What’s Around It
Rear glass is bonded to the body with urethane adhesive. To remove it, techs run a wire or cold knife through that bead. Slip a little, and the tool can drag across the glass edge or the interior trim. When the glass is being reused (say, a hatch glass coming off for body or seal repair), that slip can wipe out the edges of the grid.
Even when the old glass is destined for the bin, the vehicle’s wiring harness and connectors can get damaged. That’s where “the new glass is fine, but nothing heats” comes from.
- Tint and Film Removal Gone Sideways
Aftermarket tint is the silent grid killer. Film bonds tightly to the glass and the lines. Peel it aggressively, scrape what’s left, hit it with a blade and the grid can come away with the film. Plenty of drivers only discover this months later when winter arrives.
If your back glass has been tinted, mention it before any removal work starts. A good tech will plan the job around it.
- Rushing in the Cold
Canadian winters make everything harder. Plastic clips snap, rubber seals go stiff, and impatient techs force things that would’ve released easily at room temperature. Proper prep makes a huge difference.
Quick Reference: Damage, Symptoms and Fixes
|
What went wrong |
What you’ll notice |
Typical fix |
|---|---|---|
|
Blade nicked a line |
One or two stripes stay frosty |
Conductive repair kit |
|
Tab pulled off the glass |
Entire grid dead or half-dead |
Re-bond the tab, or replace the glass |
|
Several lines scraped |
Weak, patchy heating |
Replace the glass |
|
Wiring harness damaged |
No power at the tabs |
Repair or replace the harness |
|
Film removal damage |
Lines missing in patches |
Usually replace the glass |
How to Test Your Defroster Before You Sign Off
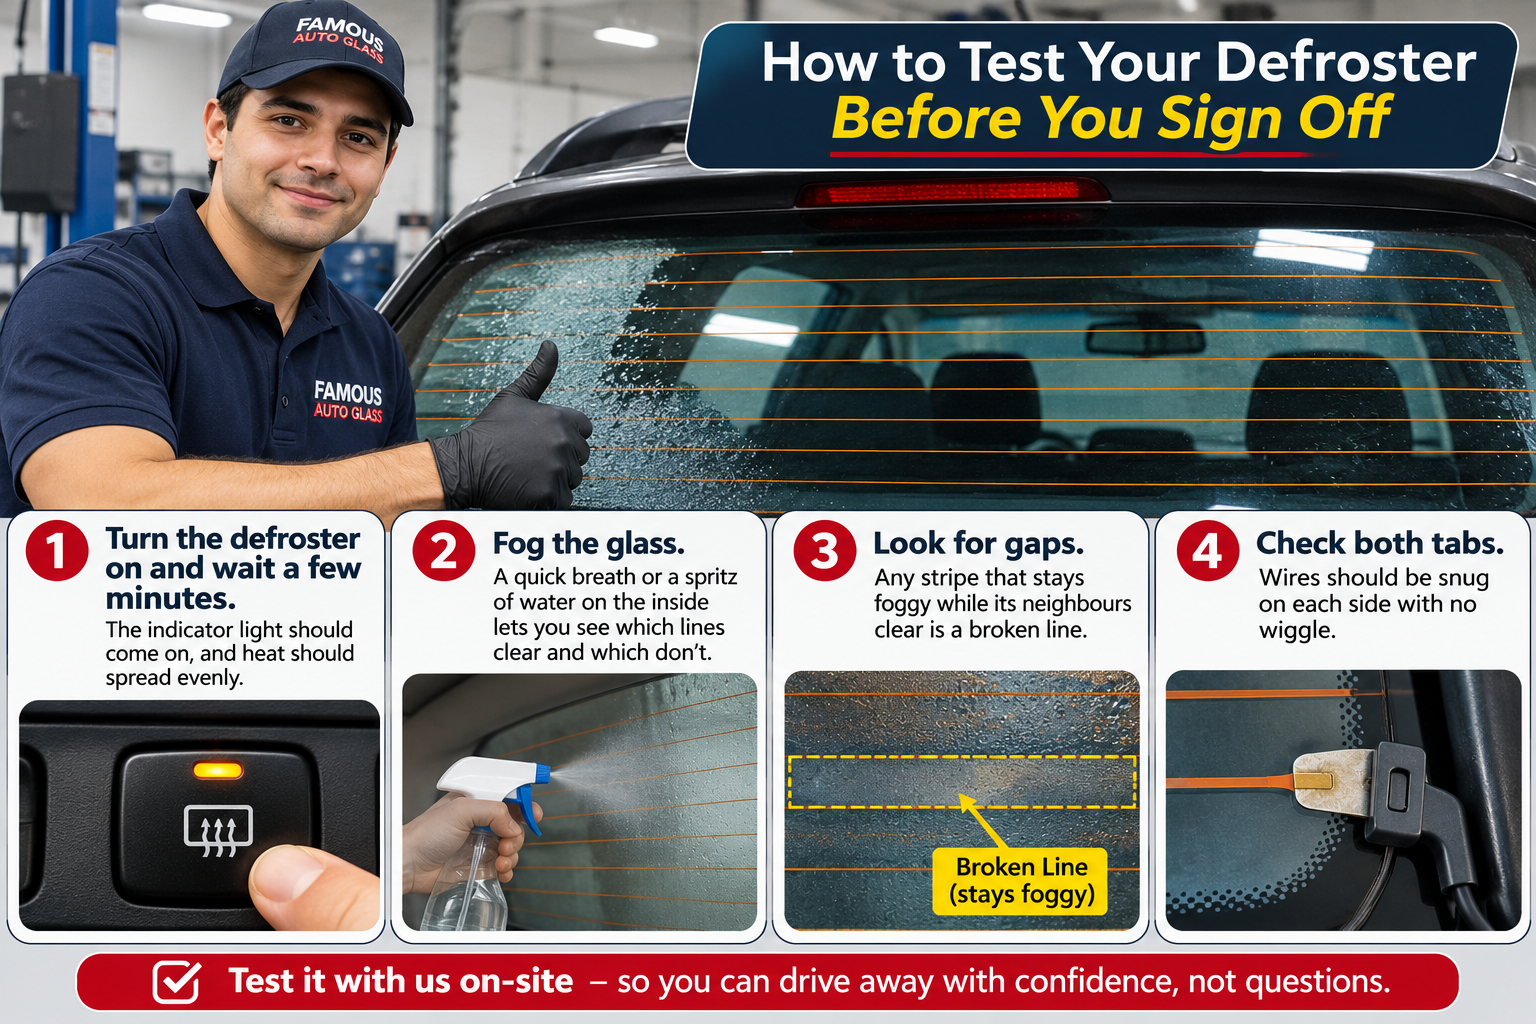
Here’s a trick any driver can pull off. Before the technician leaves (or before you drive away from the shop), run through this checklist:
- Turn the defroster on and wait a few minutes. The indicator light should come on, and heat should spread evenly.
- Fog the glass. A quick breath or a spritz of water on the inside lets you see which lines clear and which don’t.
- Look for gaps. Any stripe that stays foggy while its neighbours clear is a broken line.
- Check both tabs. Wires should be snug on each side with no wiggle.
At Famous Auto Glass LTD., we’d rather you test it with us standing there than discover a problem two weeks later when it’s snowing sideways. It also protects us both.
Repair or Replace? The Honest Answer
Good news: not every damaged line means a new window.
A conductive repair kit can work for one or two clean breaks. These kits (usually well under $40 at Canadian hardware and auto parts stores) let you paint a conductive bridge across the gap using a stencil. They suit small nicks on the inside surface, and they’re a decent weekend fix if you’re handy.
Replacement is smarter when:
- Multiple lines are damaged
- A tab has torn away with part of the grid
- Film or adhesive removal has stripped sections of the lines
- The glass has chips or cracks at the edge (rear glass is typically tempered, so it can’t be repaired like a laminated front windshield)
If it’s a replacement job, a quick quote for replacing your back window gets you the right glass for your exact make and model, including the correct grid pattern, tint and any built-in antenna. Many back windows also carry embedded antenna lines, so if your radio reception drops at the same time as your defroster, glass removal is a prime suspect.
It’s Not Just Rear Glass That Needs Careful Hands
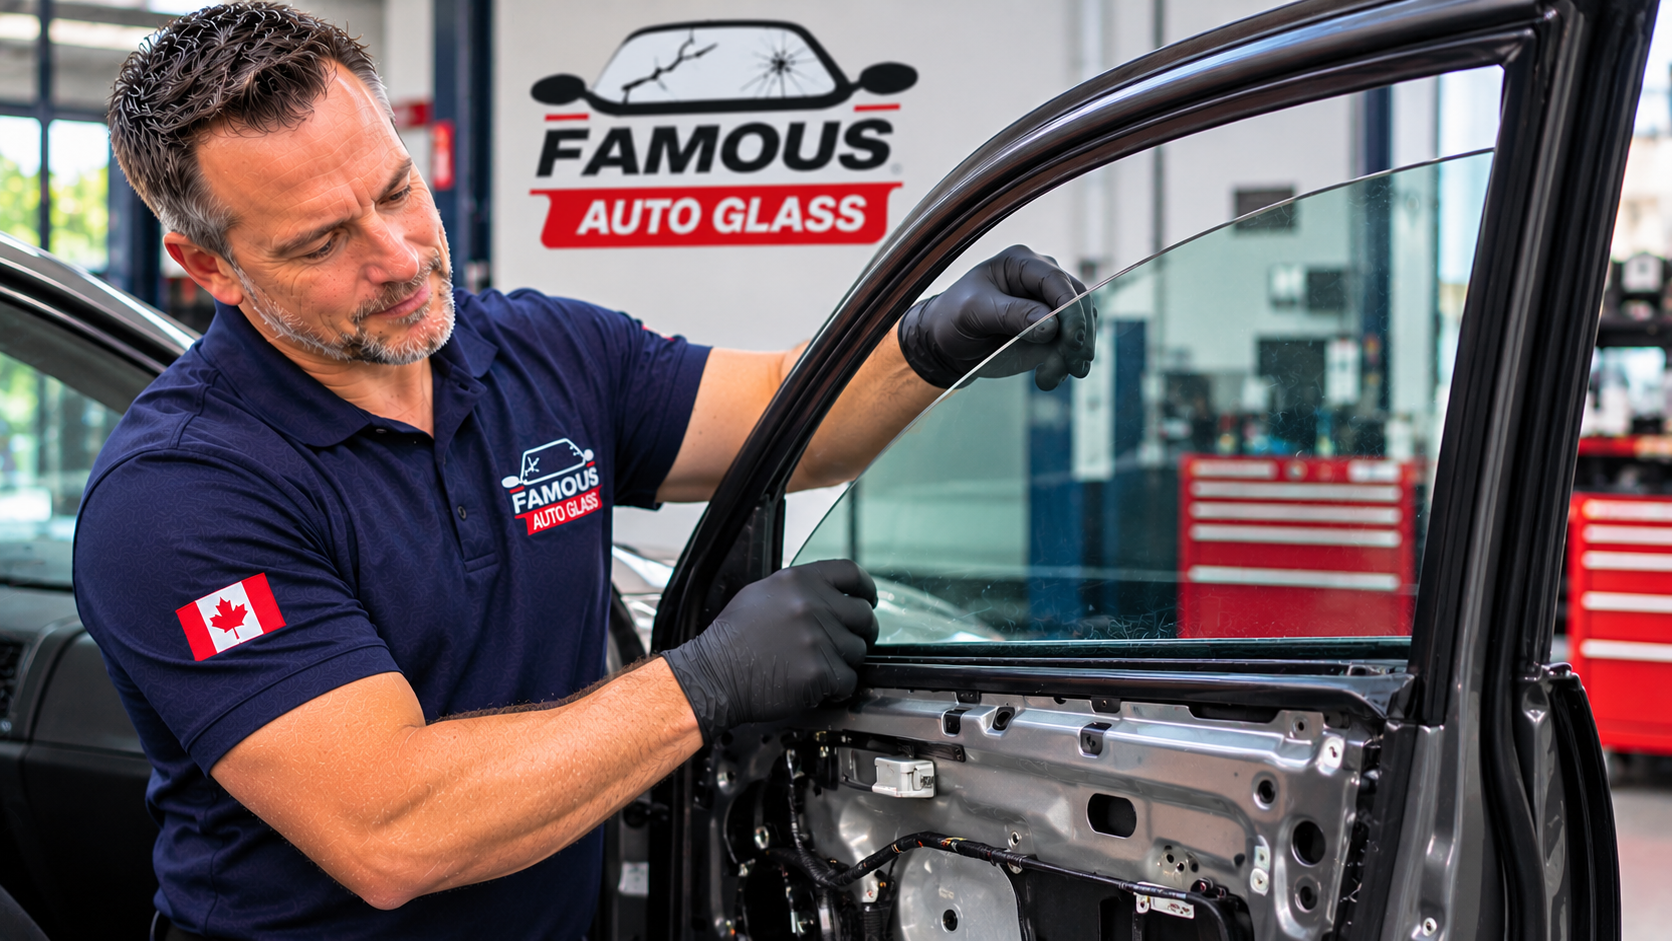
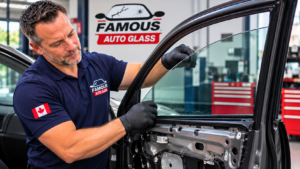
The same care applies across the whole vehicle. Heated side mirrors carry their own tiny element behind the mirror glass, and a clumsy swap can snap those connections. If your mirror’s cracked, a careful side mirror replacement keeps the heating, power adjustment and indicators intact. Door glass is the same story: a proper door glass replacement means removing trims, regulators and wiring without bending, tearing or crushing anything that was working fine yesterday.
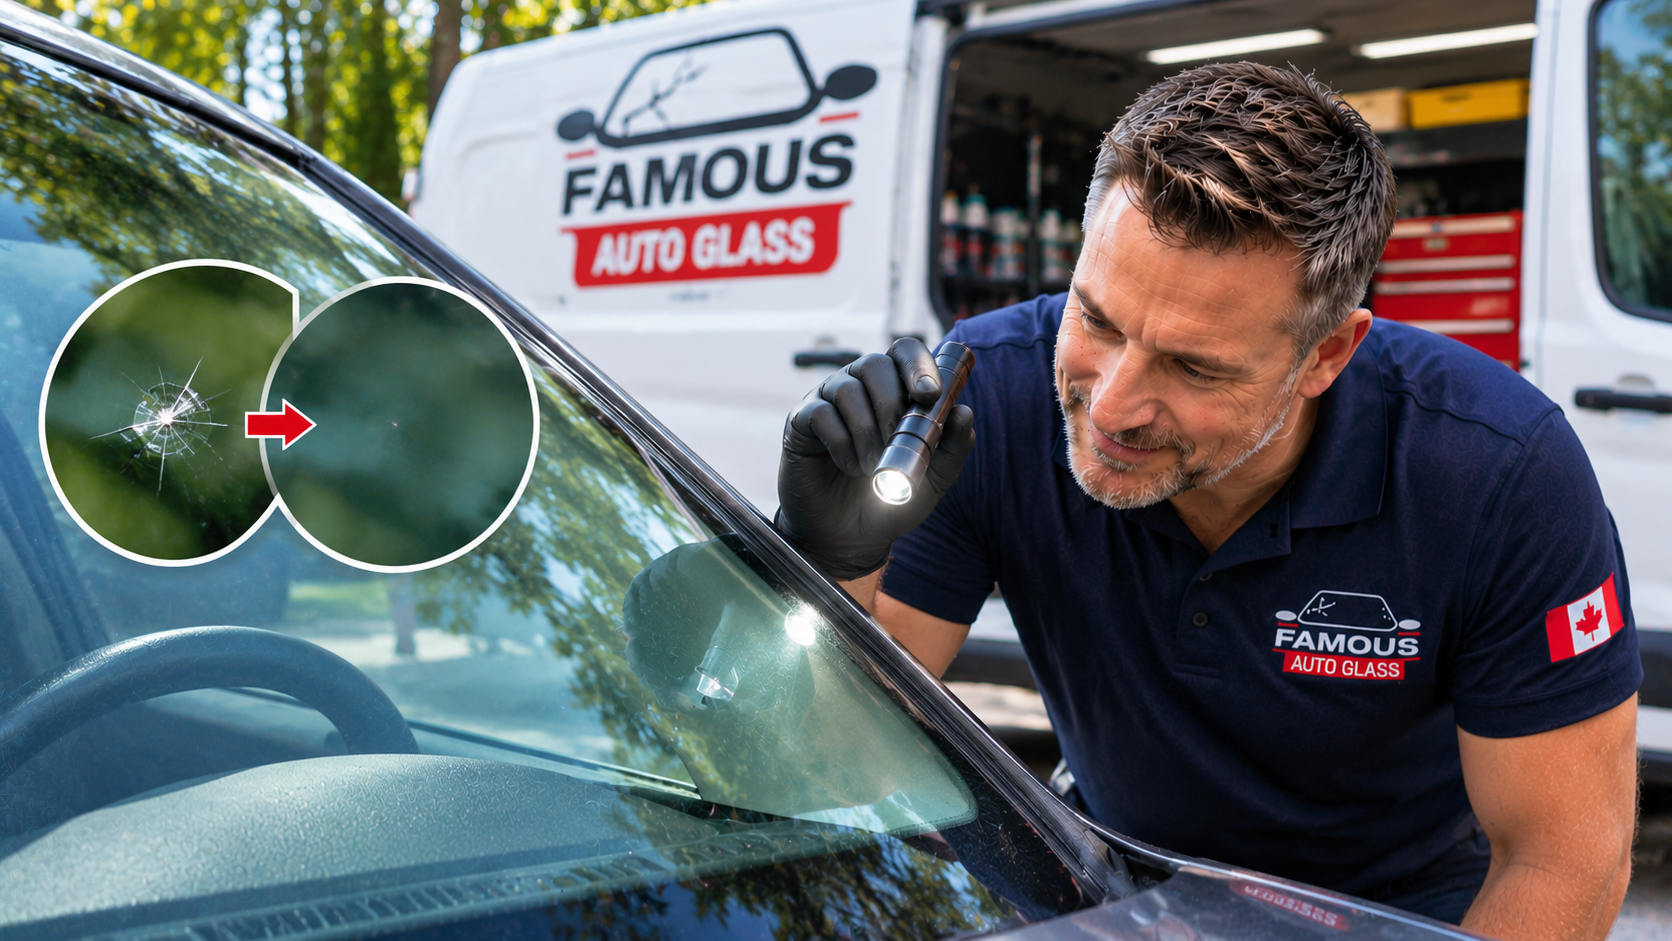
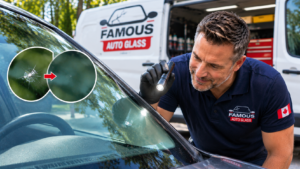
And up front? A small chip is far cheaper to fix than a full pane. Quick windshield chip and crack repair stops a stone-chip from becoming a spider web, and if the damage has already gone too far, our team handles car windshield replacement with the same attention to detail.
Why Mobile Service Can Actually Be Safer for Your Glass
Some folks assume a mobile job means cutting corners. Not so. A good mobile windshield replacement setup brings the tools, adhesives and know-how to your driveway, workplace or condo parkade, and it spares your car an extra trip where the glass can get knocked about.
What matters is preparation:
- Checking the weather window (urethane cures differently in the cold)
- Protecting the interior with proper covers
- Testing the defroster and electrical connections before the tech packs up
Whether it’s a bay or a driveway, the standard is the same: nothing leaves until everything works.
Local Knowledge: Glass Care in Woodbridge and Across the GTA
Ontario weather is brutal on auto glass. Freeze-thaw cycles, road salt, winter grit and sudden temperature swings all stress windows and seals. If you’re in the Vaughan area, our team offers dependable windshield repair in Woodbridge, plus rear glass, side glass and mirrors, so you only have to ring one crew for everything. Booking in autumn also means your defroster is ready to go when the first frost hits.
Don’t Forget the Insurance Angle
Plenty of drivers don’t realise their policy may cover glass work. Coverage varies by insurer and by policy, so check your comprehensive or glass endorsement. If you’d like a hand navigating it, our insurance claim support page explains how we work with your provider so you’re not stuck on hold for an hour.
What to Ask Any Auto Glass Shop Before Removal
Fair dinkum, a good shop won’t mind questions. Here are the ones worth asking:
- “Do you test the defroster before and after the job?”
- “How do you remove old adhesive near the heating lines?”
- “Is my replacement glass matched for tint, antenna and defroster pattern?”
- “What’s your policy if a line is damaged during installation?”
If you get confident, specific answers, you’re in good hands. If you get a shrug and a “she’ll be right,” keep shopping.